Mastering Photoshop: A Step-by-Step Tutorial for Beginners
By Rick Rome
By Rick Rome
Introduction: Adobe Photoshop is a powerful and versatile software that allows you to manipulate and enhance images with endless possibilities. Whether you’re a graphic designer, photographer, or simply an enthusiast looking to learn new skills, this tutorial will guide you through the basics of Photoshop. Let’s dive in and unlock the creative potential of this incredible tool!
Congratulations! You have completed a basic Photoshop tutorial that covers essential techniques for image editing and manipulation. Remember, practice is key to mastering Photoshop. Explore more advanced features, techniques, and tutorials to unleash your creativity and achieve stunning results. With time and experience, you’ll be able to take your Photoshop skills to new heights. Enjoy your Photoshop journey!
At Rick Rome Creative, we embark on a journey of profound exploration into the heart of your business. Our mission is to foster a holistic comprehension that enables us to connect with your target audience effectively. This necessitates a multifaceted grasp of your market dynamics and the diverse audience profiles that constitute your customer base. We are dedicated to unraveling the intricacies of their motivations, concerns, and professional challenges, spanning various aspects of their lives, both personal and occupational, where your product or service plays a pivotal role. This meticulous exploration serves as the bedrock of what we refer to as segmentation.
How do we embark on this journey? Through a rigorous and systematic process of research that extends to engaging in enlightening conversations with your key personnel, trusted partners, and valued customers. We appreciate that what propels your customers to choose your offerings may often diverge from your own perception. Embracing this vital disconnect is a fundamental step for small business owners seeking to thrive in the ever-evolving landscape of customer expectations. Upon the successful completion of our comprehensive research phase, we stand poised to furnish you with actionable recommendations, meticulously tailored to optimize the allocation of your marketing budget for achieving the most potent impact.
Rick Rome Creative stands as the torchbearer in the craft of sculpting bespoke marketing plans tailored to the unique identity of your organization. Our journey commences on the foundation of insights gleaned through comprehensive market research.
Precise targeting takes center stage in the realm of efficient marketing, particularly for small businesses. Even in instances where you perceive your target market as an expansive entity, the stark reality seldom adheres to the “one-size-fits-all” principle. Should you be operating under finite budget constraints, the endeavor to persuade individuals who harbor no intention of engaging with your offerings can precipitate resource misallocation. In this context, we ardently advocate for concentrating your efforts on specific audience segments that exhibit a heightened propensity for conversion. In cases where segmentation groundwork has been executed meticulously, pinpointing the optimal audience groups emerges as an intuitive course of action.
The more precise your targeting and positioning, the more seamlessly the orchestration from planning to execution unfolds. As you gain a comprehensive insight into your target audience’s preferences, communication style, and shared attributes, the tactical plan inherently takes shape with an innate synergy.
While it is undeniable that marketing tactics such as content marketing, advertising, and social media constitute critical components of the overall strategy, we deeply comprehend that there exist foundational considerations that transcend tactical deployment. Our foremost objective resides in the art of crafting messaging and communication that resonates harmoniously with your target audience, resonating through the most compatible marketing channels.
At Rick Rome Creative, we fervently endorse the perspective that it is not solely the journey itself, but rather the destination, that warrants profound attention and meticulous navigation.
With Rick Rome Creative as your strategic partner, you are invited to embark on a comprehensive journey characterized by thorough market understanding, astute strategic planning, and the efficient execution of initiatives designed to catapult your online visibility and engagement to unprecedented heights.
If you would like to find out more on how we can help you promote your product(s) or service(s), please complete the form below or call us today at (424) 204-5750.
Rick Rome Creative brings together a pool of talented Public Relations Directors, Creative Directors, Art Directors, Advertising Professionals, Photographers, Stylists, Makeup Artists, Set Designers, Web Developers, Programmers, Server Administrators, SEO Experts, Web Marketers, and Graphics artists to place our ideas for your vision, on the forefront of the public’s mind, encouraging them to act.
Rick Rome Creative can take your brand from infancy to maturity, making it a label of importance.

By Phone:
By Email:
9:00am – 5:00pm • Monday – Friday
9:00am – 2:00pm • Saturday
Closed on Sunday.
At Rick Rome Creative, we don’t just create advertising campaigns; we craft compelling stories that captivate, resonate, and leave a lasting impression. With innovation at our core and creativity as our driving force, we are your trusted partner in navigating the ever-evolving landscape of advertising.
Our mission is simple: to transform your brand into a compelling narrative that stands out in a crowded marketplace. Whether you’re a seasoned industry leader or a budding startup, we believe that every brand has a unique story waiting to be told, and we’re here to tell it.
With a team of creative visionaries, marketing strategists, and digital experts, we blend art and science to deliver results that transcend expectations. From concept to execution, we are dedicated to driving your brand forward, creating experiences that resonate with your audience, and achieving marketing success that makes an impact.
Join us on a journey where creativity knows no bounds, where innovation meets strategy, and where your brand’s story becomes a compelling narrative that captures hearts and minds.
In Phoenix, Arizona, we understand the unique dynamics of this innovative and ever growing region and work closely with businesses to create tailored strategies that resonate with the local Phoenix audience. From crafting compelling advertising campaigns to designing user-centric UI/UX websites, our Phoenix Arizona staff serve both the Phoenix West Valley, (including the city of Surprise, Sun City, Glendale Peoria & Litchfield Park) in addition to the East Valley (including the city of Scottsdale, North Scottsdale, & Tempe).
Los Angeles, California, is a hub of creativity and innovation, and our presence here allows us to thrive in the heart of the entertainment industry. With a finger on the pulse of pop culture, we assist clients in Los Angeles with cutting-edge digital marketing strategies, high-impact public relations efforts, and visually captivating web design. Our team knows how to capture the essence of this dynamic city in our campaigns.
Salt Lake City, Utah, provides us with a unique perspective on business and culture along the Wasatch Front & in Park City. Our Salt Lake City representatives are well-versed in the local landscape and use their expertise to help clients stand out in this thriving region. We offer a comprehensive suite of services, from strategic advertising to data-driven digital marketing, enabling businesses to navigate this diverse market successfully.
No matter the location, Rick Rome Creative remains committed to delivering exceptional service and results. Our regional presence allows us to combine local insights with the convenience of on-site accessibility, ensuring that our clients receive the best of both worlds: personalized strategies tailored to their specific markets and the innovation and creativity that have become our trademarks. We are not just partners in business; we are partners in growth, and we’re here to help businesses achieve their full potential.
Choose Rick Rome Creative, where creativity knows no limits, and your brand’s potential has no boundaries.

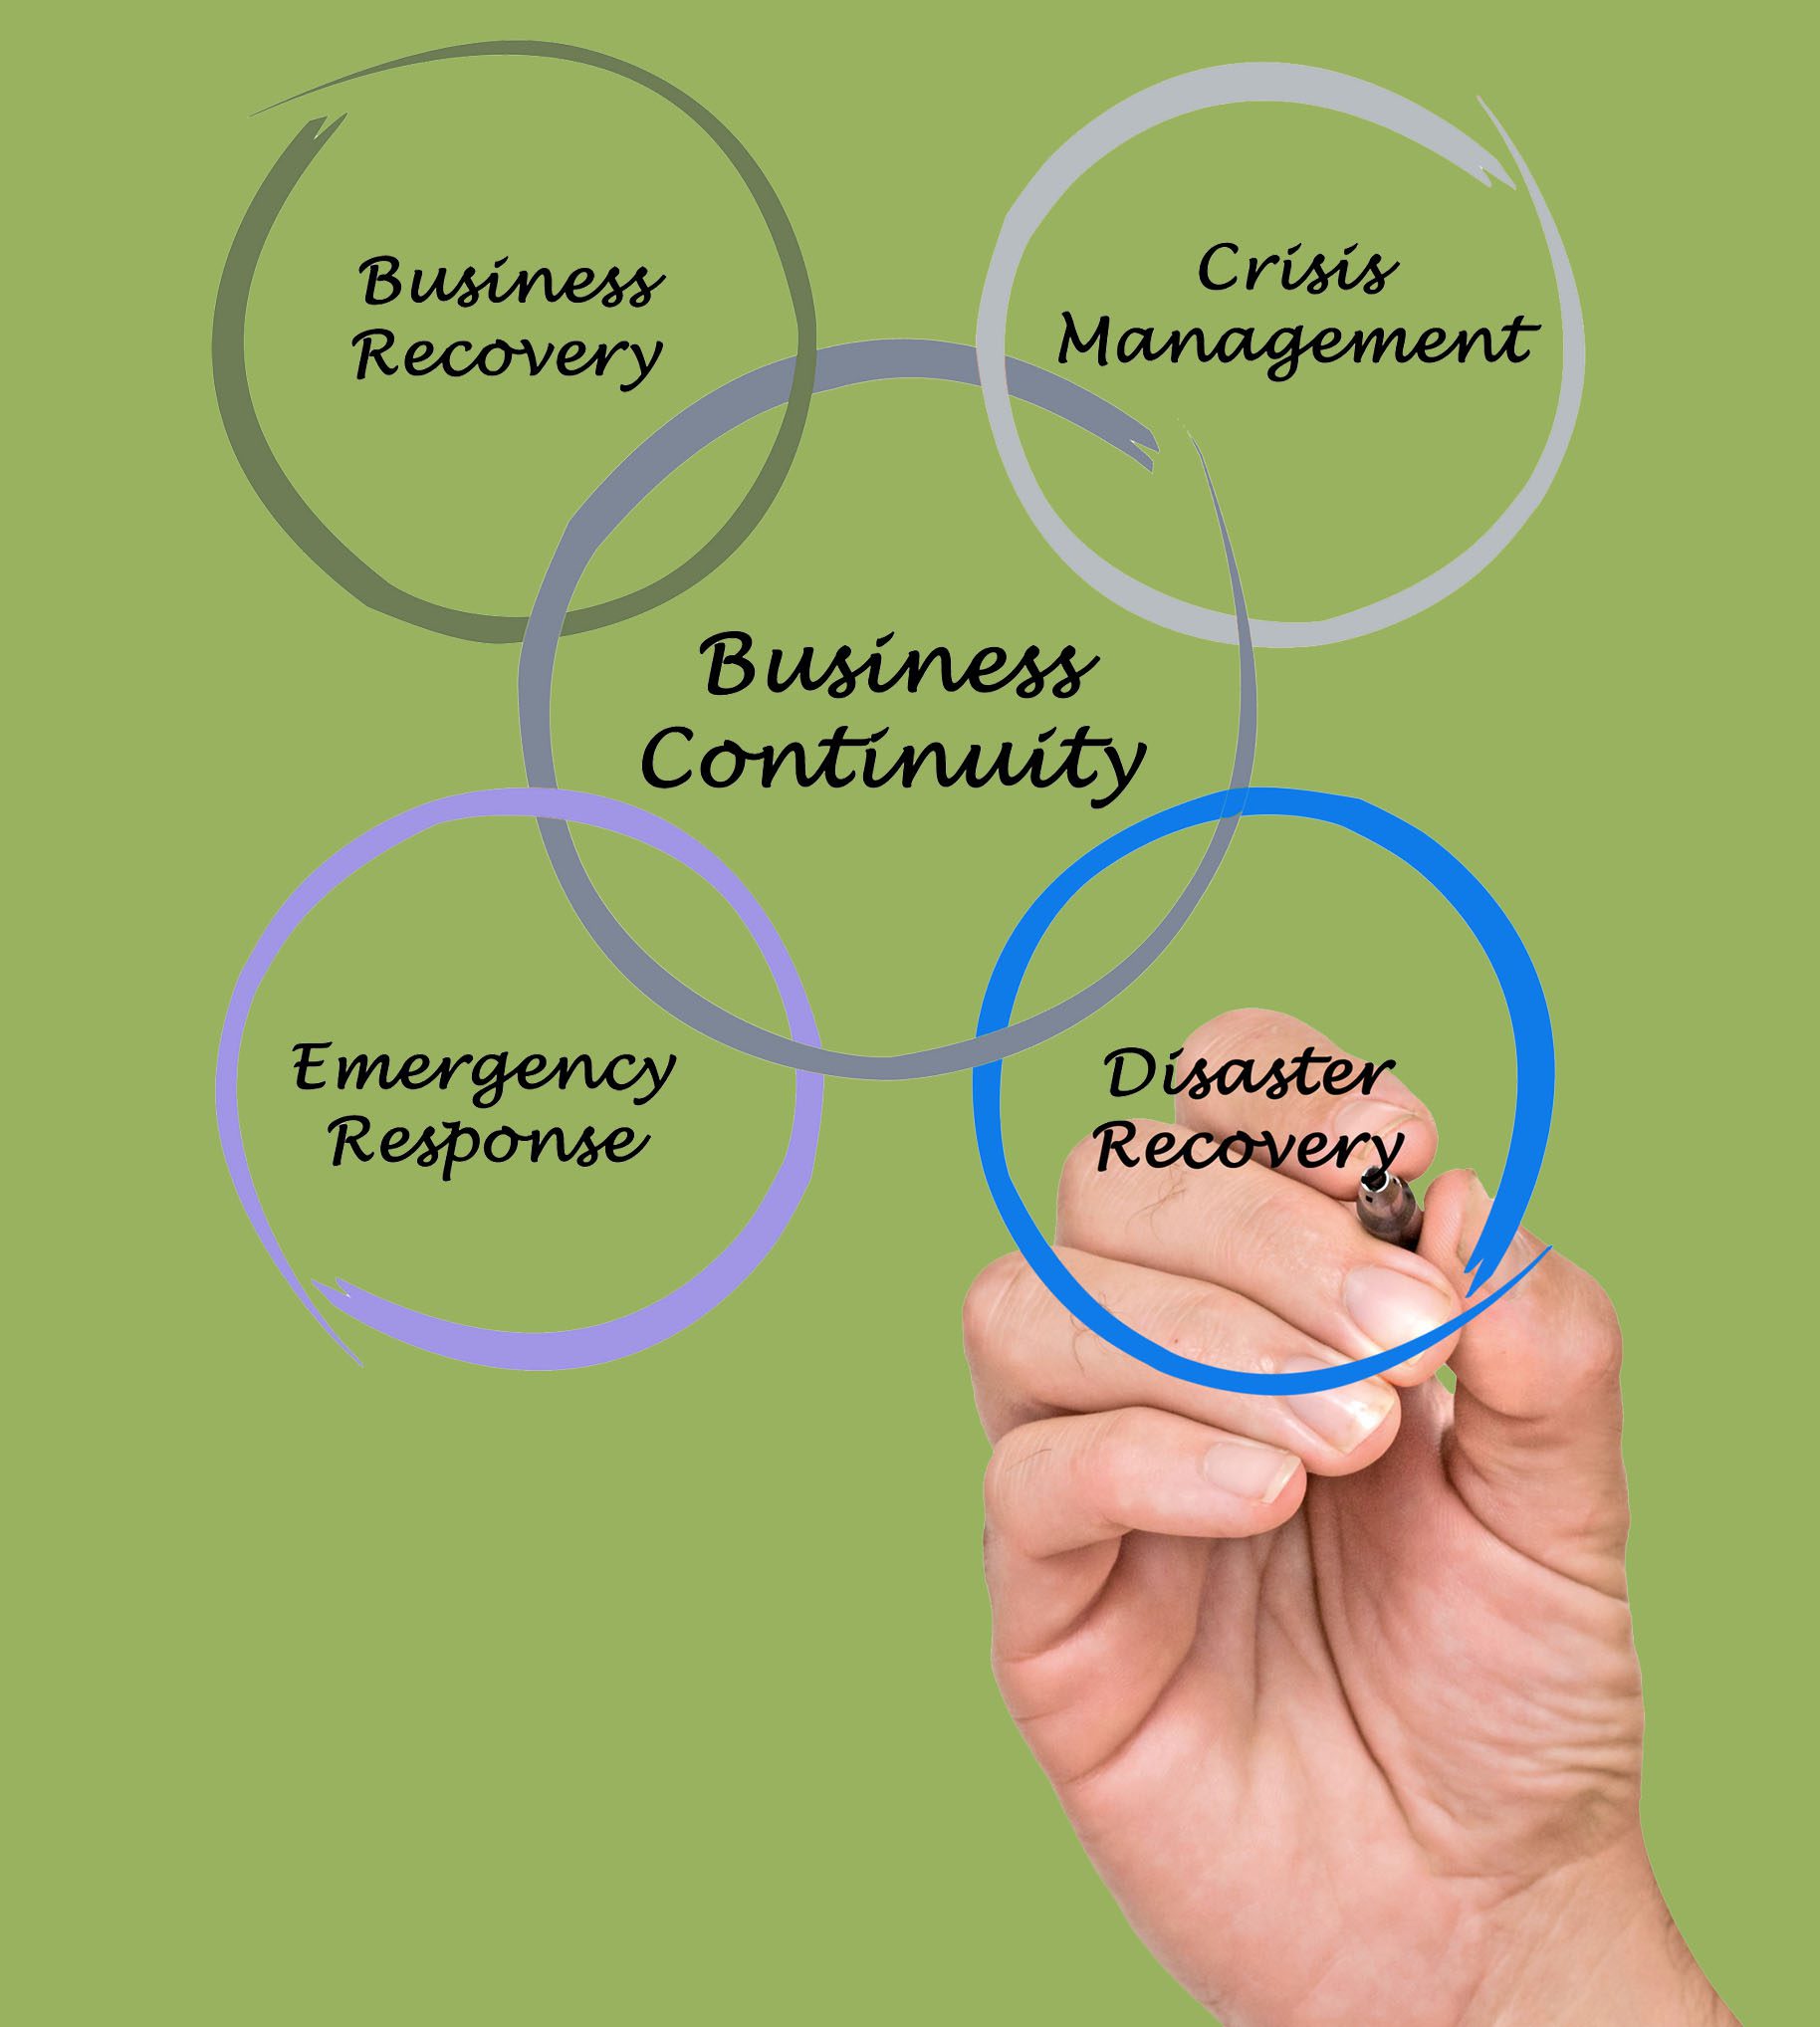 Crisis Management – Mitigating Reputational Harm to an Organization
 We use cookies to ensure that you have the best experience possible on our website. You can disable them at anytime, by clicking "learn more".
OKLearn moreWe may request cookies to be set on your device. We use cookies to let us know when you visit our websites, how you interact with us, to enrich your user experience, and to customize your relationship with our website.
Click on the different category headings to find out more. You can also change some of your preferences. Note that blocking some types of cookies may impact your experience on our websites and the services we are able to offer.
These cookies are strictly necessary to provide you with services available through our website and to use some of its features.
Because these cookies are strictly necessary to deliver the website, refuseing them will have impact how our site functions. You always can block or delete cookies by changing your browser settings and force blocking all cookies on this website. But this will always prompt you to accept/refuse cookies when revisiting our site.
We fully respect if you want to refuse cookies but to avoid asking you again and again kindly allow us to store a cookie for that. You are free to opt out any time or opt in for other cookies to get a better experience. If you refuse cookies we will remove all set cookies in our domain.
We provide you with a list of stored cookies on your computer in our domain so you can check what we stored. Due to security reasons we are not able to show or modify cookies from other domains. You can check these in your browser security settings.
We also use different external services like Google Webfonts, Google Maps, and external Video providers. Since these providers may collect personal data like your IP address we allow you to block them here. Please be aware that this might heavily reduce the functionality and appearance of our site. Changes will take effect once you reload the page.
Google Webfont Settings:
Google Map Settings:
Google reCaptcha Settings:
Vimeo and Youtube video embeds:
You can read about our cookies and privacy settings in detail on our Privacy Policy Page.